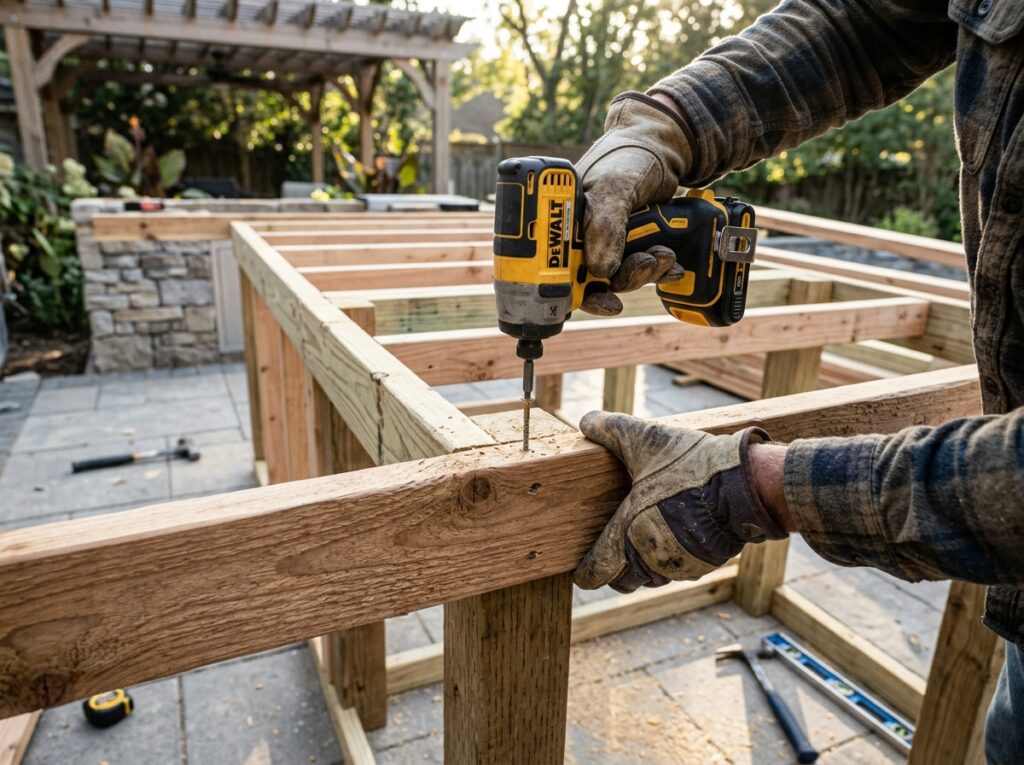
Build a Backyard Kitchen on Any Budget — Here’s How
Most people spend three summers thinking about building an outdoor kitchen before they actually do anything. They pin ideas, watch YouTube videos, and then get overwhelmed the moment they realize they need to think about gas lines, weather-resistant materials, and whether their patio can even hold the weight.
Here’s the thing — building a DIY outdoor kitchen isn’t as complicated as the contractor quotes make it seem. People have been grilling and cooking outside since forever. You’re just making it more permanent, more functional, and honestly, a lot more enjoyable.
This guide is going to walk you through the real process — from planning your layout on paper to firing up your grill on a structure you actually built yourself. No fluff, no vague advice. Just what you need to know, in the order you need to know it.
How to Build a DIY Outdoor Kitchen: The Full Process
Start With a Real Plan (Not Just a Pinterest Board)
Before you buy a single cinder block or drill a single hole, you need a plan that actually works in your specific space. This is where most DIY outdoor kitchen projects go sideways — people skip the planning phase and end up with a beautiful-looking structure that’s either facing the wrong direction, too close to the house, or impossible to use comfortably.
First, figure out your “why.” Are you mostly grilling on weekends? Do you want a full cooking setup with a burner, sink, and fridge? Or is this mainly a bar and entertaining space with some cooking capability? Your answer to this question determines everything else — the size, the equipment, the budget, and even the materials you’ll need.
Second, measure your space honestly. A good outdoor kitchen needs at least 10–12 feet of linear counter space to feel functional. You want enough room to work without bumping into things, and you want clearance behind you for people to walk by without getting in the way. Mark out your intended footprint with chalk or painter’s tape on the actual ground. Live with it for a day or two. Walk around it. You’ll catch problems early.
Third, think about traffic flow. Your outdoor kitchen should connect naturally to where guests congregate — usually a patio or deck. The back of the grill should face away from seating areas so smoke doesn’t drift onto your guests. And your prep counter should be accessible without crossing the grill path. These small decisions make a huge difference in how the space actually feels when you’re using it.
Pro Tip: Sketch your layout on graph paper using a 1 inch = 1 foot scale. It takes 20 minutes and saves you from expensive mistakes.
Choose Your Base Structure — This Decision Matters More Than You Think
The structure you build your outdoor kitchen on determines how long it lasts, how much it costs, and how hard the build actually is. There are three main approaches:
Concrete masonry unit (CMU) blocks or cinder blocks are the most durable and popular choice for permanent outdoor kitchens. They’re weather-resistant, fire-safe, and can handle the weight of stone countertops without any issues. The downside? They’re heavy, the build requires a little more time, and you’ll need to think about waterproofing the inside of the cavities where your equipment lives.
Steel stud framing with cement board is faster to build and lighter than CMU, but it’s not quite as durable in areas with heavy rain or extreme temperature swings. It works really well in mild climates or covered outdoor kitchen setups. You frame it like an interior wall, skin it with cement board, then tile or stone over the exterior.
Pre-built modular systems are the easiest to work with — essentially outdoor kitchen cabinets made from powder-coated steel or HDPE polymer. They’re not cheap, but they eliminate most of the structural work. You’re basically assembling and connecting components rather than building from scratch. Brands like Bull Outdoor Products, Lynx, and Coyote make solid modular systems.
For a true DIY build that’s meant to last 20+ years, CMU block construction is the move. It’s what professional outdoor kitchen builders use, and with some patience, it’s totally achievable on a weekend or two.
The Foundation and Footings — Don’t Skip This
Here’s something most beginner guides gloss over: your outdoor kitchen needs a proper foundation. A heavy structure sitting on bare ground or an undersupported deck will settle, crack, or shift over time.
If you’re building on an existing concrete patio, check the thickness first. Most residential patios are 4 inches thick — that’s generally fine for a CMU structure, but if you’re adding a heavy natural stone countertop on top, you may want to consult a local contractor to confirm your slab can handle the load.
If you’re building on bare ground, you need a concrete slab. Standard outdoor kitchen slabs are typically 4–6 inches thick with rebar reinforcement. This isn’t the most glamorous part of the project, but it’s the part that determines whether your kitchen is still standing and level ten years from now.
For a slab pour, here’s the basic process:
Excavate 6–8 inches below grade. Add 4 inches of compacted gravel for drainage. Build your form using 2×6 lumber. Lay rebar in a grid pattern and tie it together. Pour your concrete, screed it level, and let it cure for at least 7 days before building on it. Rushing the cure time is how you end up with a cracked foundation.
Building the Structure Step by Step
Once your slab is ready, the actual building process is more approachable than it looks. Here’s how a CMU block outdoor kitchen goes together:
Dry-fit first. Before you mix a single bag of mortar, lay your blocks out dry to confirm your layout fits, your equipment openings are sized correctly, and you don’t have any awkward cuts to make. This step alone saves hours of headache.
Mix your mortar. Use Type S mortar mix for exterior masonry — it’s formulated for outdoor use and handles freeze-thaw cycles better than Type N. Mix to a peanut butter consistency. Too wet and it won’t hold; too dry and it won’t bond.
Lay your first course. This is the most critical row. Use a level religiously — every block in this row needs to be perfectly level and aligned, because every row above follows from here. Apply mortar to the slab, set each block, tap it level with a rubber mallet, and check your alignment constantly.
Build up to your desired counter height. Standard counter height is 36 inches, same as indoor kitchens. Most CMU blocks are 8 inches tall, so you’ll need about 4 full courses plus room for your countertop material.
Frame your equipment openings. When you reach the openings where your grill, side burner, or access doors will sit, you’ll need to create a lintel — a steel angle iron or concrete beam that spans the opening and supports the blocks above it. Steel angle iron (typically 2-inch or 3-inch) works perfectly for this and is easy to find at any metal supplier or home improvement store.
Fill the cores. Once your blocks are laid and mortar is set, fill the hollow cores with concrete. This dramatically increases structural strength and prevents water from pooling inside the cavities.
Warning: Leave the grill manufacturer’s required clearance on all sides of your grill opening. This isn’t just about fit — it’s a safety requirement. Most built-in grills need 1–3 inches of clearance from combustible surfaces. Check your specific grill’s installation manual before you frame the opening.
Plumbing, Gas, and Electrical — Know Your Limits
This is the section where honesty matters most. Some parts of your outdoor kitchen you absolutely can DIY. Others you really shouldn’t, not because it’s too hard, but because the consequences of getting it wrong are genuinely dangerous.
Gas lines: If you’re running a natural gas line to your outdoor kitchen, hire a licensed plumber or gas fitter. Full stop. Propane setups with a tank are more forgiving for DIY — you’re essentially connecting a regulator and a hose to your grill — but even then, always pressure-test your connections and check for leaks with soapy water before firing anything up.
Water and sink: Adding a sink is easier than most people think. If you’re near an exterior hose bib, you can connect a cold-water supply line without major plumbing work. Hot water requires running a supply line from inside your house, which is a bigger job. In cold climates, you’ll need a way to drain and winterize the lines — this is where a lot of outdoor kitchen sinks get damaged.
Electrical: Outdoor electrical requires GFCI-protected circuits and weatherproof outlets rated for exterior use (look for WR+TR outlets). Running a new circuit from your panel is a job for a licensed electrician in most jurisdictions. The permit requirements vary by location, but outdoor electrical work almost universally requires inspection.
Permits: Speaking of permits — check with your local municipality before you build. A permanent outdoor kitchen may require a building permit, especially if it involves gas or electrical. Getting caught without one can complicate a home sale down the road.
Countertop Options: What Holds Up Outside
Your countertop needs to handle sun, rain, temperature swings, grease, and the occasional dropped tool. Not everything that looks great in a showroom survives a real outdoor environment.
Concrete countertops are one of the best options for outdoor kitchens. They can be cast in any shape, they handle heat well, and they develop a natural patina over time that actually looks better with age. They do need to be sealed annually to prevent staining and moisture absorption.
Porcelain tile is another strong choice — affordable, extremely durable, and available in dozens of styles including ones that convincingly mimic granite or marble. The only downside is grout lines, which require occasional maintenance to stay clean and sealed.
Natural granite looks beautiful and holds up extremely well outdoors, but it needs to be properly sealed because it’s a porous stone. Avoid marble outdoors — it etches from acid rain and stains more easily than granite.
Avoid laminate, wood (unless it’s specifically meant for outdoor use and you’re committed to heavy maintenance), and engineered quartz for outdoor kitchens — most quartz products aren’t UV-stable and will fade, crack, or delaminate with outdoor exposure.
Finishing the Exterior: Making It Look Like It Belongs There
The structural build is done. Now comes the part that makes it actually look like an outdoor kitchen and not a pile of cinder blocks.
Stone veneer is the most popular exterior finish, and for good reason. Thin stone veneer (natural or manufactured) gives your outdoor kitchen a high-end look without the weight or cost of full-thickness stone. You apply it with a polymer-modified thinset mortar over the CMU surface. If you’ve never done stonework before, start with manufactured stone — the pieces are more uniform and easier to work with.
Stucco is a more affordable and equally durable option. A three-coat stucco finish over CMU gives you a clean, smooth surface that can be painted any color you like. It’s the easiest exterior finish for a first-time builder.
Large-format porcelain tile applied directly to the CMU surface is a clean, modern-looking option that also happens to be very weather-resistant and easy to clean. Use exterior-rated tile and a polymer-modified thinset rated for freeze-thaw conditions.
Choosing Your Equipment
The equipment you choose should be decided before you build your structure, not after. Equipment dimensions determine your framing openings, your countertop length, and even the depth of your base.
Most built-in outdoor grills sit in a cutout that’s typically around 30–36 inches wide. But there’s no universal standard, so get your exact equipment specs first and build around them.
A few things worth having in a functional outdoor kitchen setup:
A good built-in grill is the obvious centerpiece. Brands like Weber, Napoleon, and Blaze make solid built-in options at various price points. If you’re planning on cooking more than just burgers and steaks — think low-and-slow smoking or roasting — understanding temperature management matters. Knowing how to read a meat thermometer correctly becomes genuinely useful when you’re cooking outdoors without the feedback loop of an oven.
A side burner gives you a place to boil, sauté, or make sauces without going back inside. It sounds like a luxury until the first time you need it.
An outdoor-rated refrigerator keeps drinks and prepped ingredients close. Look for units specifically designed for outdoor use — they’re built to handle temperature extremes that would kill a standard indoor mini-fridge.
Access doors and drawers let you store propane tanks, grilling tools, and supplies inside the base structure. They also give the whole build a finished, intentional look.
Quick Fact: The global outdoor kitchen market is projected to exceed $20 billion by 2030, driven largely by homeowners investing in backyard living spaces post-2020. DIY builds account for a significant portion of that growth as material costs and online tutorials have made the project more accessible than ever.
Budget Reality Check
People wildly underestimate and overestimate outdoor kitchen costs in equal measure. Here’s a grounded look at what you’re actually spending:
A basic DIY outdoor kitchen with a CMU structure, built-in grill, concrete countertop, and stone veneer finish typically runs $3,000–$7,000 in materials. That’s a real number — not the $1,500 budget builds you see on certain DIY blogs (which usually skip the countertop, use a freestanding grill, and call it a day).
Add a sink, outdoor fridge, side burner, and lighting, and you’re looking at $7,000–$15,000 in materials for a fully equipped outdoor kitchen. Still significantly less than the $20,000–$50,000 a contractor would charge for the same project.
The biggest cost variables are your countertop material, your grill, and whether you need a new concrete slab. If you already have a patio slab and you’re keeping the equipment simple, you can build something genuinely impressive for under $5,000.
Protecting Your Investment
Once you’ve built it, keeping it in good shape is straightforward but not optional.
Cover your grill when it’s not in use — even stainless steel benefits from protection against rain, bird droppings, and UV exposure. Get a cover that actually fits your grill dimensions, not a generic one.
Seal your countertop every 12–18 months depending on the material and your climate. Concrete and natural stone in particular absorb water and stain if left unsealed.
Check your mortar joints every couple of years for cracks. Small cracks let water in, water expands when it freezes, and freeze-thaw cycles are how a perfectly built structure slowly falls apart. A tube of exterior caulk or mortar repair compound handles most of this.
In cold climates, winterize your sink and water lines before the first freeze. Drain them completely, blow them out with compressed air if needed, and shut off the supply valve at the source.
FAQ
How long does it take to build a DIY outdoor kitchen?
A typical CMU-block outdoor kitchen build takes most people 3–5 weekends of actual work, not counting cure time for the concrete slab (7 days minimum) and mortar (24–48 hours between courses). If you’re doing a simpler modular or stud-framed build, you can cut that down to 1–2 weekends. Planning, sourcing materials, and ordering equipment add another 1–3 weeks before you even break ground.
What materials are best for outdoor kitchen construction?
Concrete masonry units (CMU blocks) are the gold standard for the structural frame because of their durability, fire resistance, and weight-bearing capacity. For countertops, concrete, granite, and large-format porcelain tile all perform well outdoors. For exterior finishes, stone veneer and stucco are the most popular and weather-resistant options. Avoid wood, standard laminate, and engineered quartz for any outdoor application.
Do I need a permit to build an outdoor kitchen?
In most U.S. jurisdictions, yes — especially if your build includes gas lines, electrical connections, or a structure above a certain square footage. Permit requirements vary significantly by city and county, so contact your local building department before you start. A permit might feel like an extra hassle, but it protects you during a home sale and ensures your gas and electrical work gets inspected by someone who knows what they’re looking for.
Can I build an outdoor kitchen on an existing wood deck?
You can, but with serious caveats. A full CMU block outdoor kitchen is extremely heavy — too heavy for most wood deck structures without significant reinforcement. If you want an outdoor kitchen on a deck, a steel stud frame with cement board is lighter and more appropriate, or you can use a modular HDPE system that distributes weight differently. Always consult a structural engineer before adding significant weight to an existing deck.
What’s the best grill for a built-in outdoor kitchen?
It depends on your cooking style and budget. For most people, a 3–4 burner built-in natural gas or propane grill in the 30–36 inch range hits the sweet spot of versatility and price. Weber, Napoleon, and Blaze all have strong reputations at different price points. If you cook a lot of proteins low-and-slow, look for a grill that can hold temperatures steadily in the 225–275°F range — and knowing how to tell when bacon is done or when your pork has reached the right internal temperature will serve you well once you’re cooking outdoors regularly.
Closing Thoughts
The gap between wanting an outdoor kitchen and actually having one is mostly just a plan and a first weekend of work. Once you’ve laid that first course of blocks and seen your layout take shape, the project stops feeling theoretical and starts feeling real — and honestly, manageable.
Start with your layout, decide your structure type, source your materials, and build from the ground up. Don’t wait until you can afford the “perfect” setup. A solid, functional outdoor kitchen built now — even a modest one — will bring more value to your backyard than the perfect kitchen you kept planning for three more years.
Pick a weekend, stake out your footprint, and start.